Site Search Quick Start
Site Search is the easiest way to add a search to your website.
The key to its simplicity is the dynamic, automated Site Search Crawler.
A crawler is an application that scans the content and structure of publicly available webpages.
The crawler will scan your pages depending on your website address: https://example.com.
Once crawled, your pages are indexed for engaging search and dynamic result customization.
An excellent and valuable search experience can be yours in just a couple of minutes:
1. Create an account
You will need to create a Site Search account to begin.
Be sure to confirm your email address!
2. Create an Engine
Engine is short for Search Engine.
It is the sophisticated control center, the brain of your search experience.
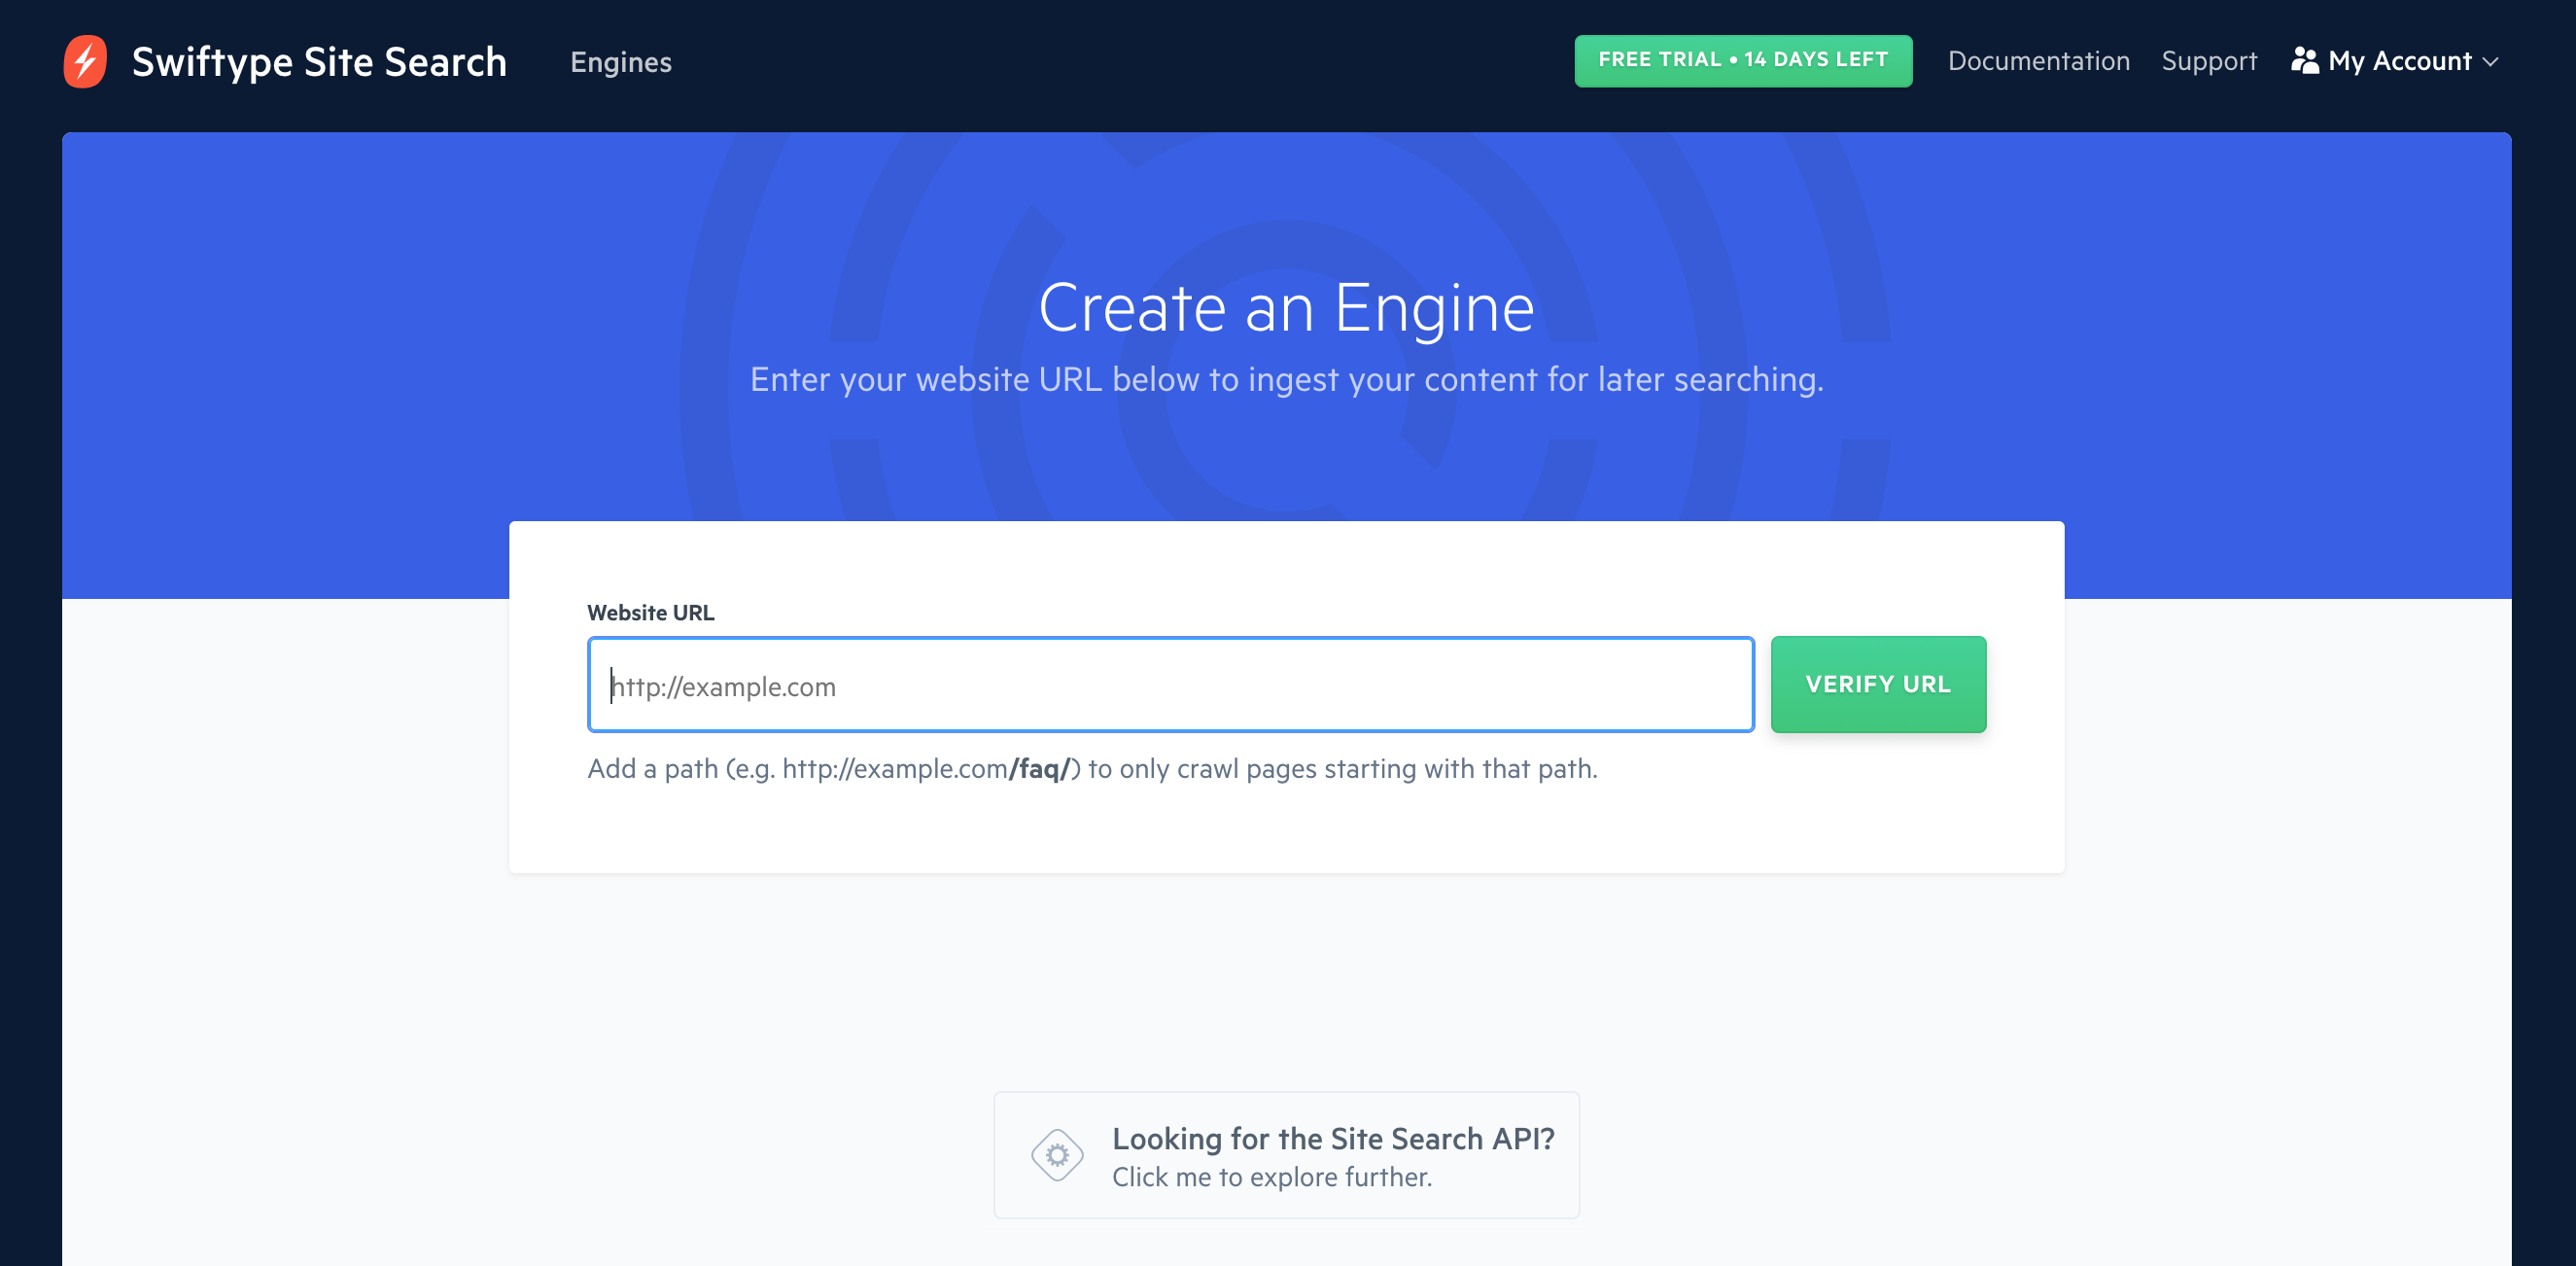
After beginning your Site Search trial, enter your website's URL when prompted.
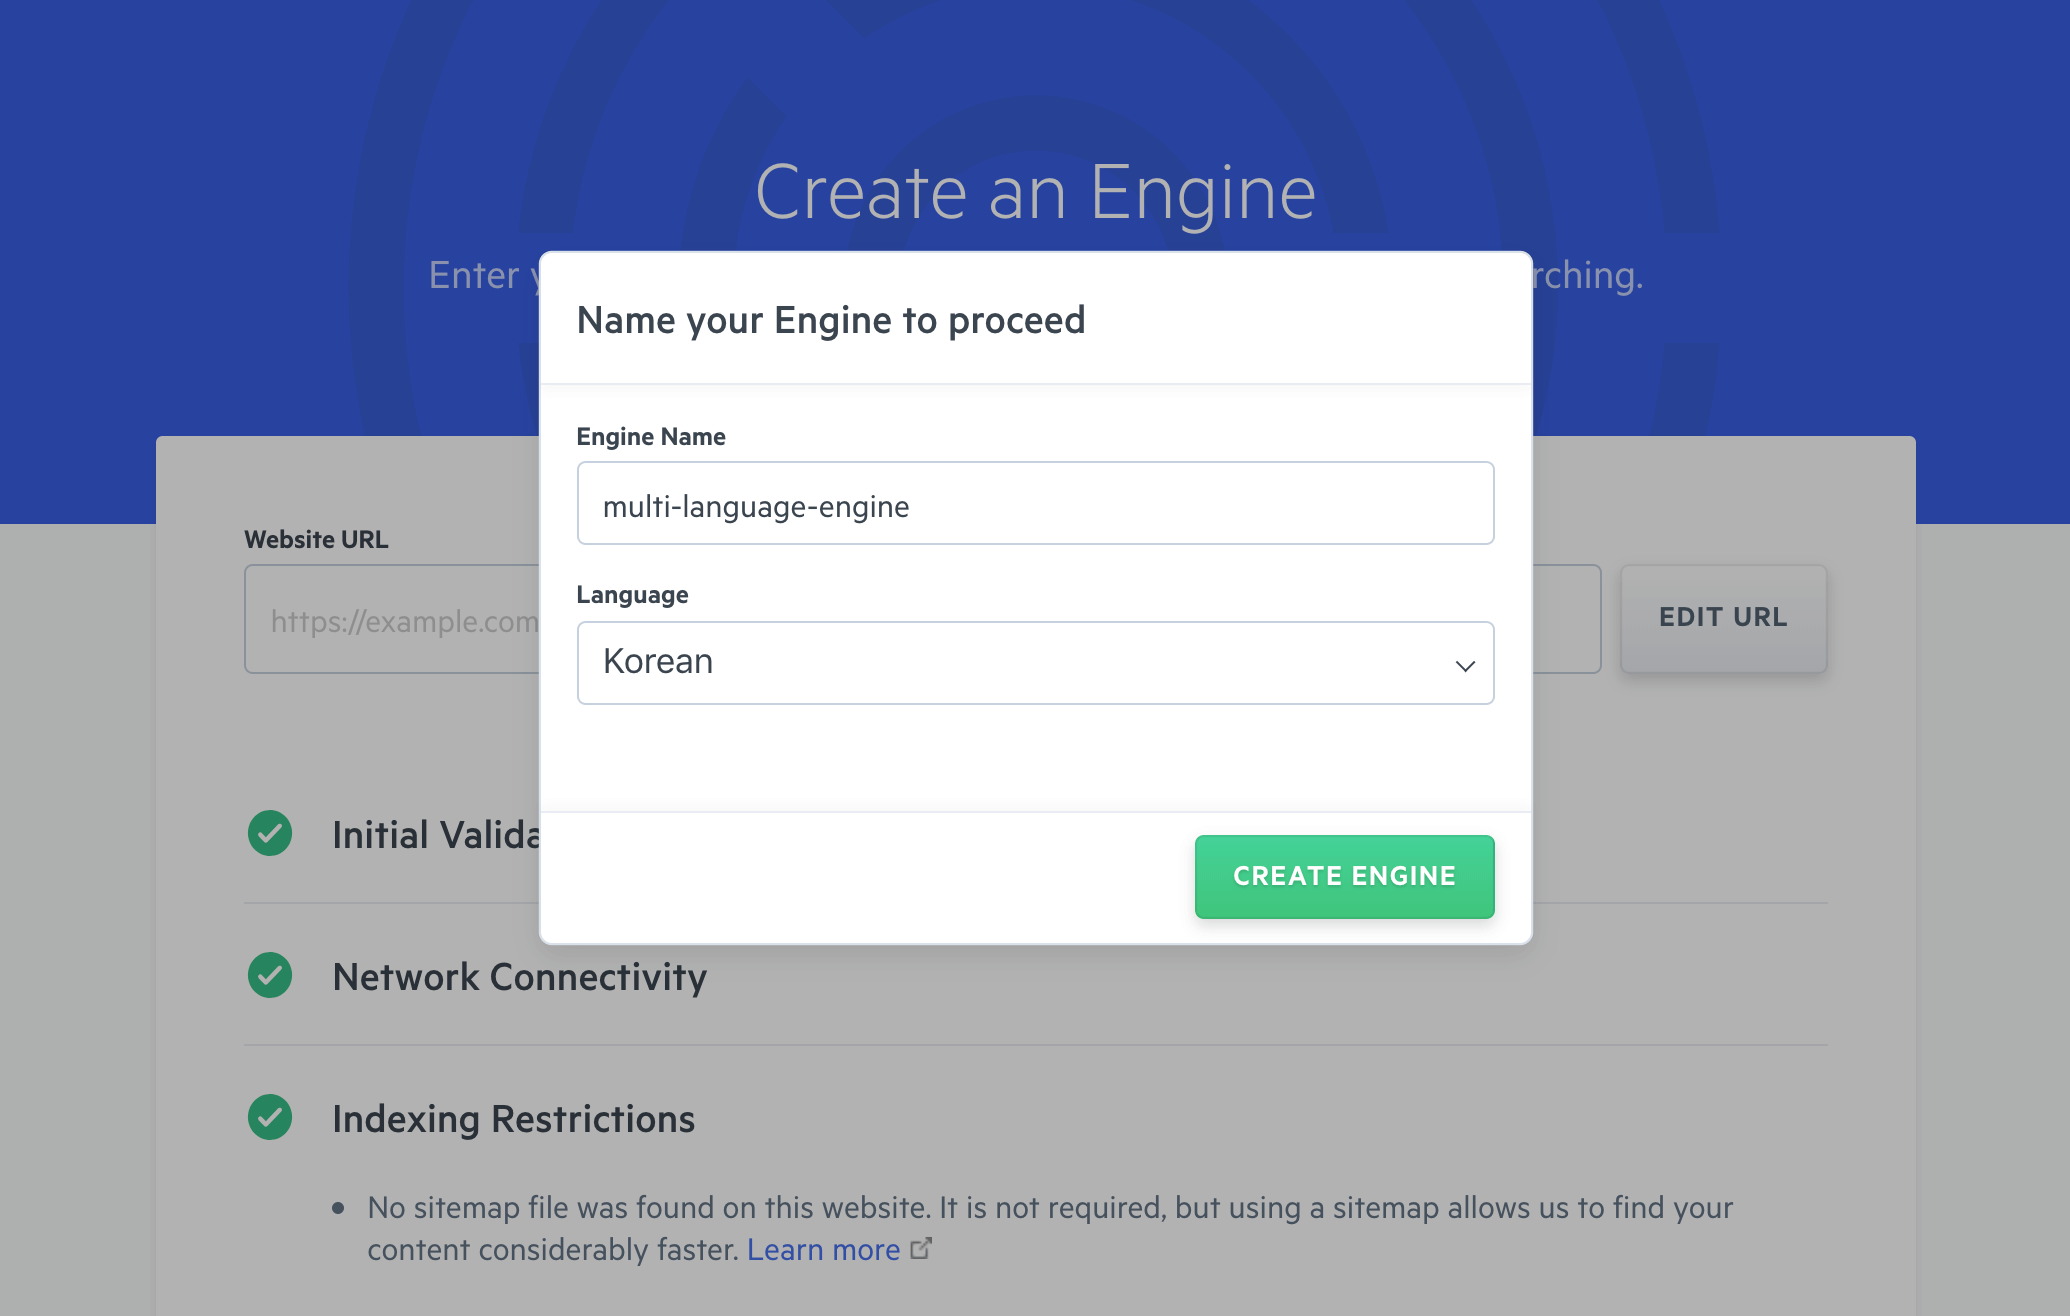
Once the scan is successful, provide your Engine with a name and select its default language.
You can choose from over 13 different languages including: English, French, Chinese, Japanese, Korean, Russian, and German. For the full list, see our section on language support.
Great ~ we are almost there...
3. Add Search
Next, we will install add the search experience to your website.
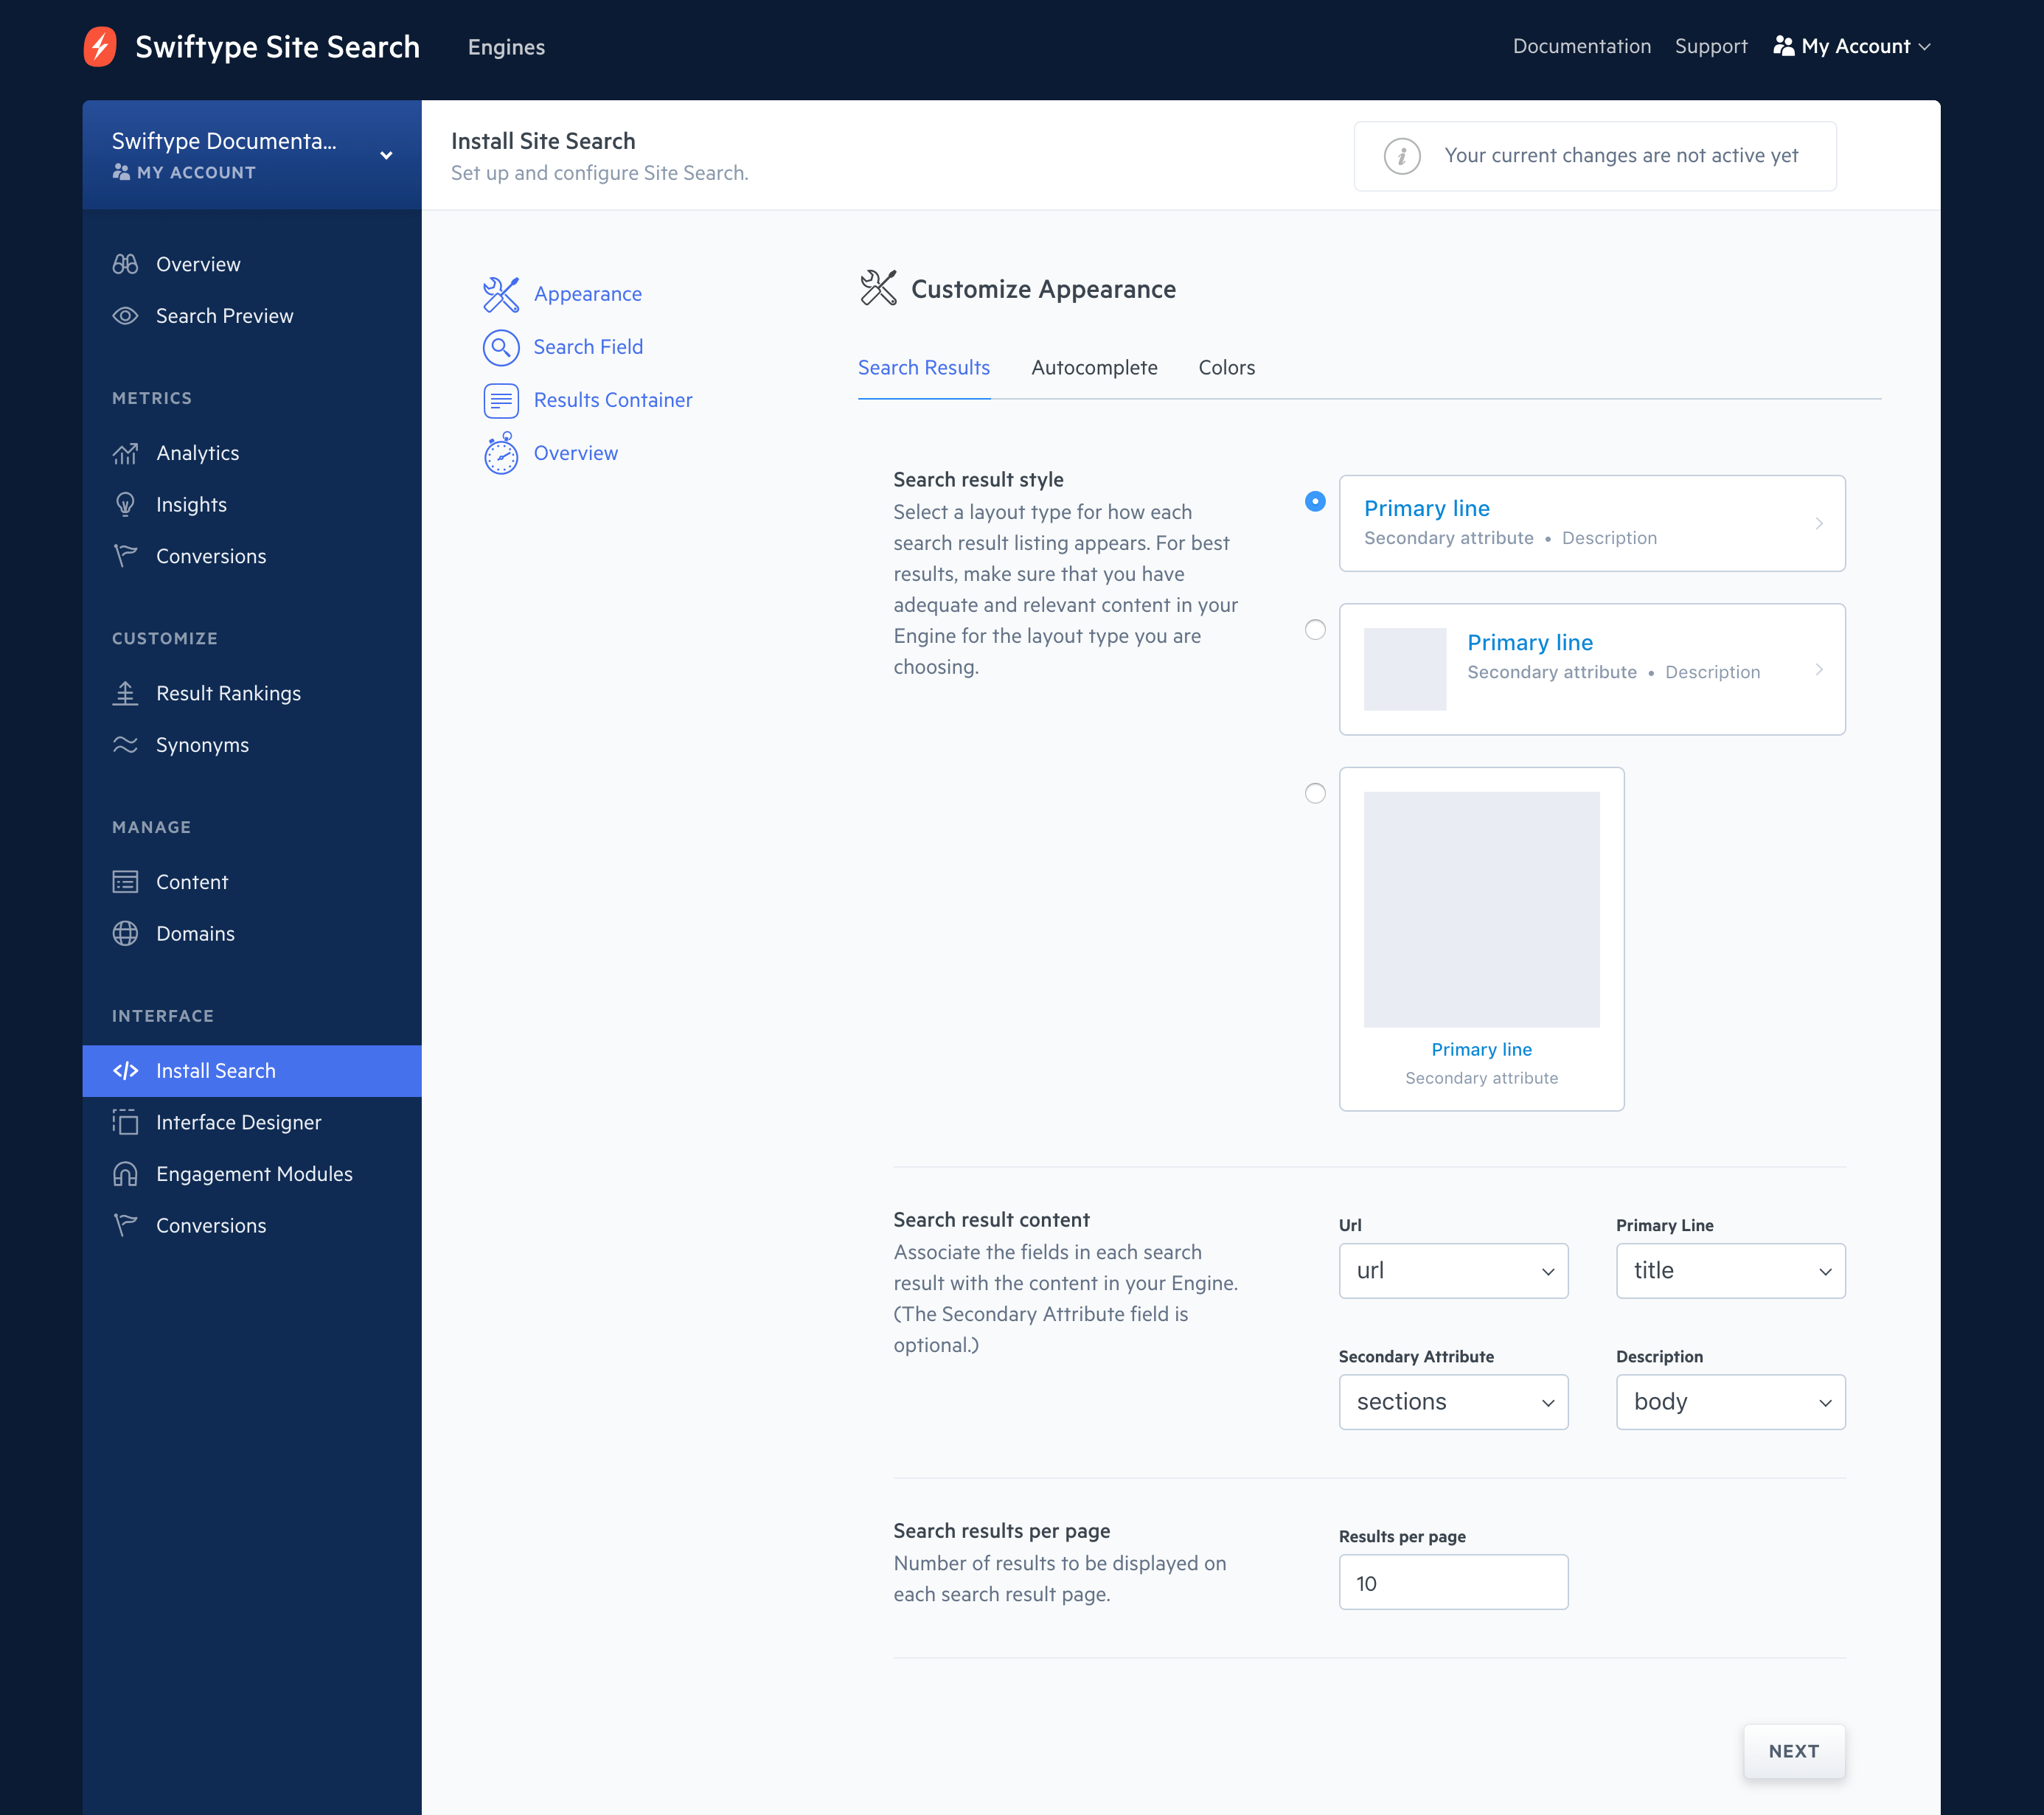
Click on the Installation button within step 2 of the dashboard tutorial.
This will take you through the design of your Search Field and Result Container.
You can use the Site Search defaults, the tab and the overlay.
Or, you can configure Site Search to work with your pre-existing search field.
You can choose how to style your results, configure autocomplete, and tune an array of options:
Once you have a basic configuration, click on Activate Site Search.
You will receive an embeddable JavaScript snippet.
Place the snippet within each webpage to enable search upon it.
The snippet will look like this:
<script type="text/javascript">
  (function(w,d,t,u,n,s,e){w['SwiftypeObject']=n;w[n]=w[n]||function(){
  (w[n].q=w[n].q||[]).push(arguments);};s=d.createElement(t);
  e=d.getElementsByTagName(t)[0];s.async=1;s.src=u;e.parentNode.insertBefore(s,e);
  })(window,document,'script','//s.swiftypecdn.com/install/v2/st.js','_st');

  _st('install','xxx-xxxx-xxx','2.0.0');
</script>
If you stop here, you will have an out of the box Site Search installation.
The Design and Customizations guide will help you get deep into a custom implementation.
With that, we have accomplished the following:
- Created an Engine.
- Crawled your website and indexed your webpages, turning them into searchable documents.
- Styled our search field and our result container.
- Installed the embedded Site Search snippet.
Congratulations!
What next?
We have plenty of resources to help you master the art of website search.
- Crawler Configuration: Learn advanced configuration methods.
- Crawler Troubleshooting: Something amiss? Learn how to troubleshoot.
- Design & Customization: Design a world class search experience.
- Explore Synonyms, Result Rankings, and Weights guides to master relevance tuning.
Stuck? Looking for help? Contact support or check out the Site Search community forum!