Design and Customization Guide
How will I build and design a great search experience?
The goal of this guide is to help you navigate the stylistic options available within Site Search.
To begin, we will introduce the two aesthetic components of a typical search experience:
There are two key considerations:
- How do I want my search field to appear?
- How do I want my results container to appear?
You will soon be well informed and up and running!
Search Field
Some may call it the search bar, the search box, or the magical rectangle.
The search field is the place in which a user will input their search queries.
Your web browser has one.
Each search engine like Google or DuckDuckGo has one.
And you will need one to provide search!
A basic installation of Site Search requires the Site Search JavaScript snippet.
It can be installed within the <body></body> tags of your website:
<script type="text/javascript">
  (function(w,d,t,u,n,s,e){w['SwiftypeObject']=n;w[n]=w[n]||function(){
  (w[n].q=w[n].q||[]).push(arguments);};s=d.createElement(t);
  e=d.getElementsByTagName(t)[0];s.async=1;s.src=u;e.parentNode.insertBefore(s,e);
  })(window,document,'script','//s.swiftypecdn.com/install/v2/st.js','_st');

  _st('install','xxxxx-xxxxxx-xxxxxx','2.0.0');
</script>
You may be using search within your website already.
If so, you already have a search field into which we will weave Site Search.
Doing so requires that the JavaScript snippet read additional information from your HTML.
The information we need to add is a class: st-default-search-input.
If you have a <form></form> containing an input tag within your search field, like so:
<form>
  <input type="text" />
</form>
You would extend it to include the Site Search class:
<form>
  <input type="text" class="st-default-search-input" />
</form>
The JavaScript will then interact with this class. Search requests within your search field will communicate with your Site Search Engine.
If you do not have a search field, you can create your own.
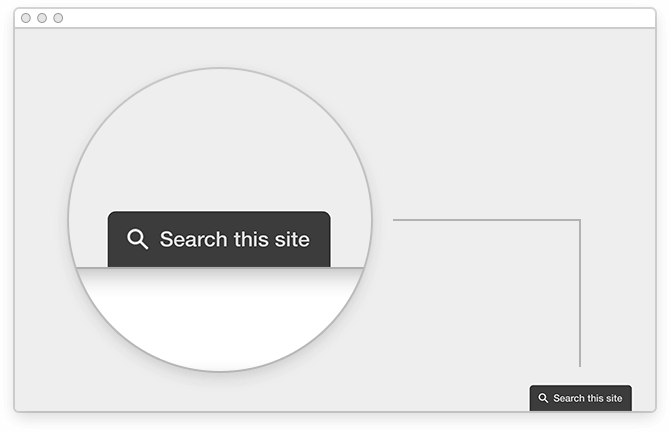
Or, Site Search has an out-of-the-box solution: the Site Search search tab.
If you select the tab during the installation flow, it will appear in the bottom right of each page that contains the Site Search JavaScript snippet:

Results Container
The results container is the space where your search results appear.
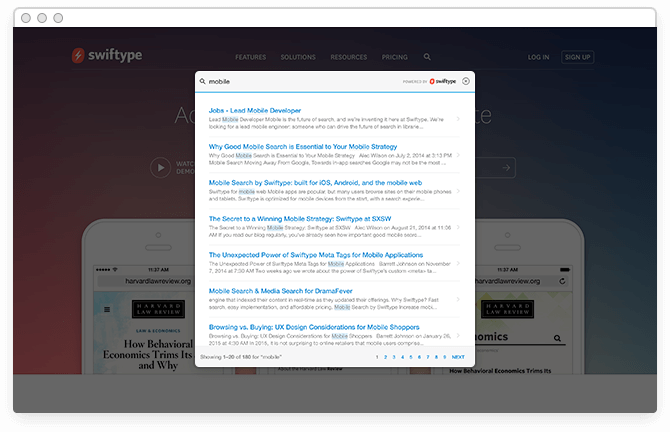
In some cases it appears over top of your website content as an overlay.
In others, it appears in its own webpage or as a part of every page.
Site Search can satisfy each of these choices.
The out of the box method is the Site Search overlay. Your website dims and the overlay appears on top of it.
You can apply custom styling, but the overlay exists "separate" from your own pages.
When you combine the overlay with the Site Search search tab, you need only install the JavaScript snippet.
That'll get you up and running with search as quickly as possible.

Note: The default text within the embeddable components is only available in English.
If you choose not to use the overlay, configuration is in your capable hands.
If you would like to have a results container on every page, you can extend your HTML.
Add a unique Site Search class: st-search-container to the most suitable content division element.
For example, if you had a basic <div></div> somewhere within your <body></body> tags, you would extend it like so:
<div class="st-search-container"></div>
Your results will now appear within this content division element.
If you would rather your results appear only within one specific webpage, you would:
- Add the
st-search-containerclass to the most appropriate division element - Specify the page URL within the results container settings within Site Search.
For example, if all search results are display within https://example.com/search_results, you would:
- Enter the URL.
- Add the
st-search-containertag into your desired content division.
Now, how to beautify your search experience.
Basic Appearance
We can customize the look and feel of the search experience.
The appearance menu within the interface options will help you do just that.
Given that you can adopt your existing search field to use Site Search, its styling is part of your website's design.
However, your search and autocomplete results can be customized to match your aesthetic and information delivery preferences.
Search Results have a strong relationship with the properties of your documents.
By default, the Site Search Crawler will take your webpages and assign them field values:
- a
title - some
sections - a
url - a
published_atdate - the
bodytext - an
imageto use as a thumbnail, if available.
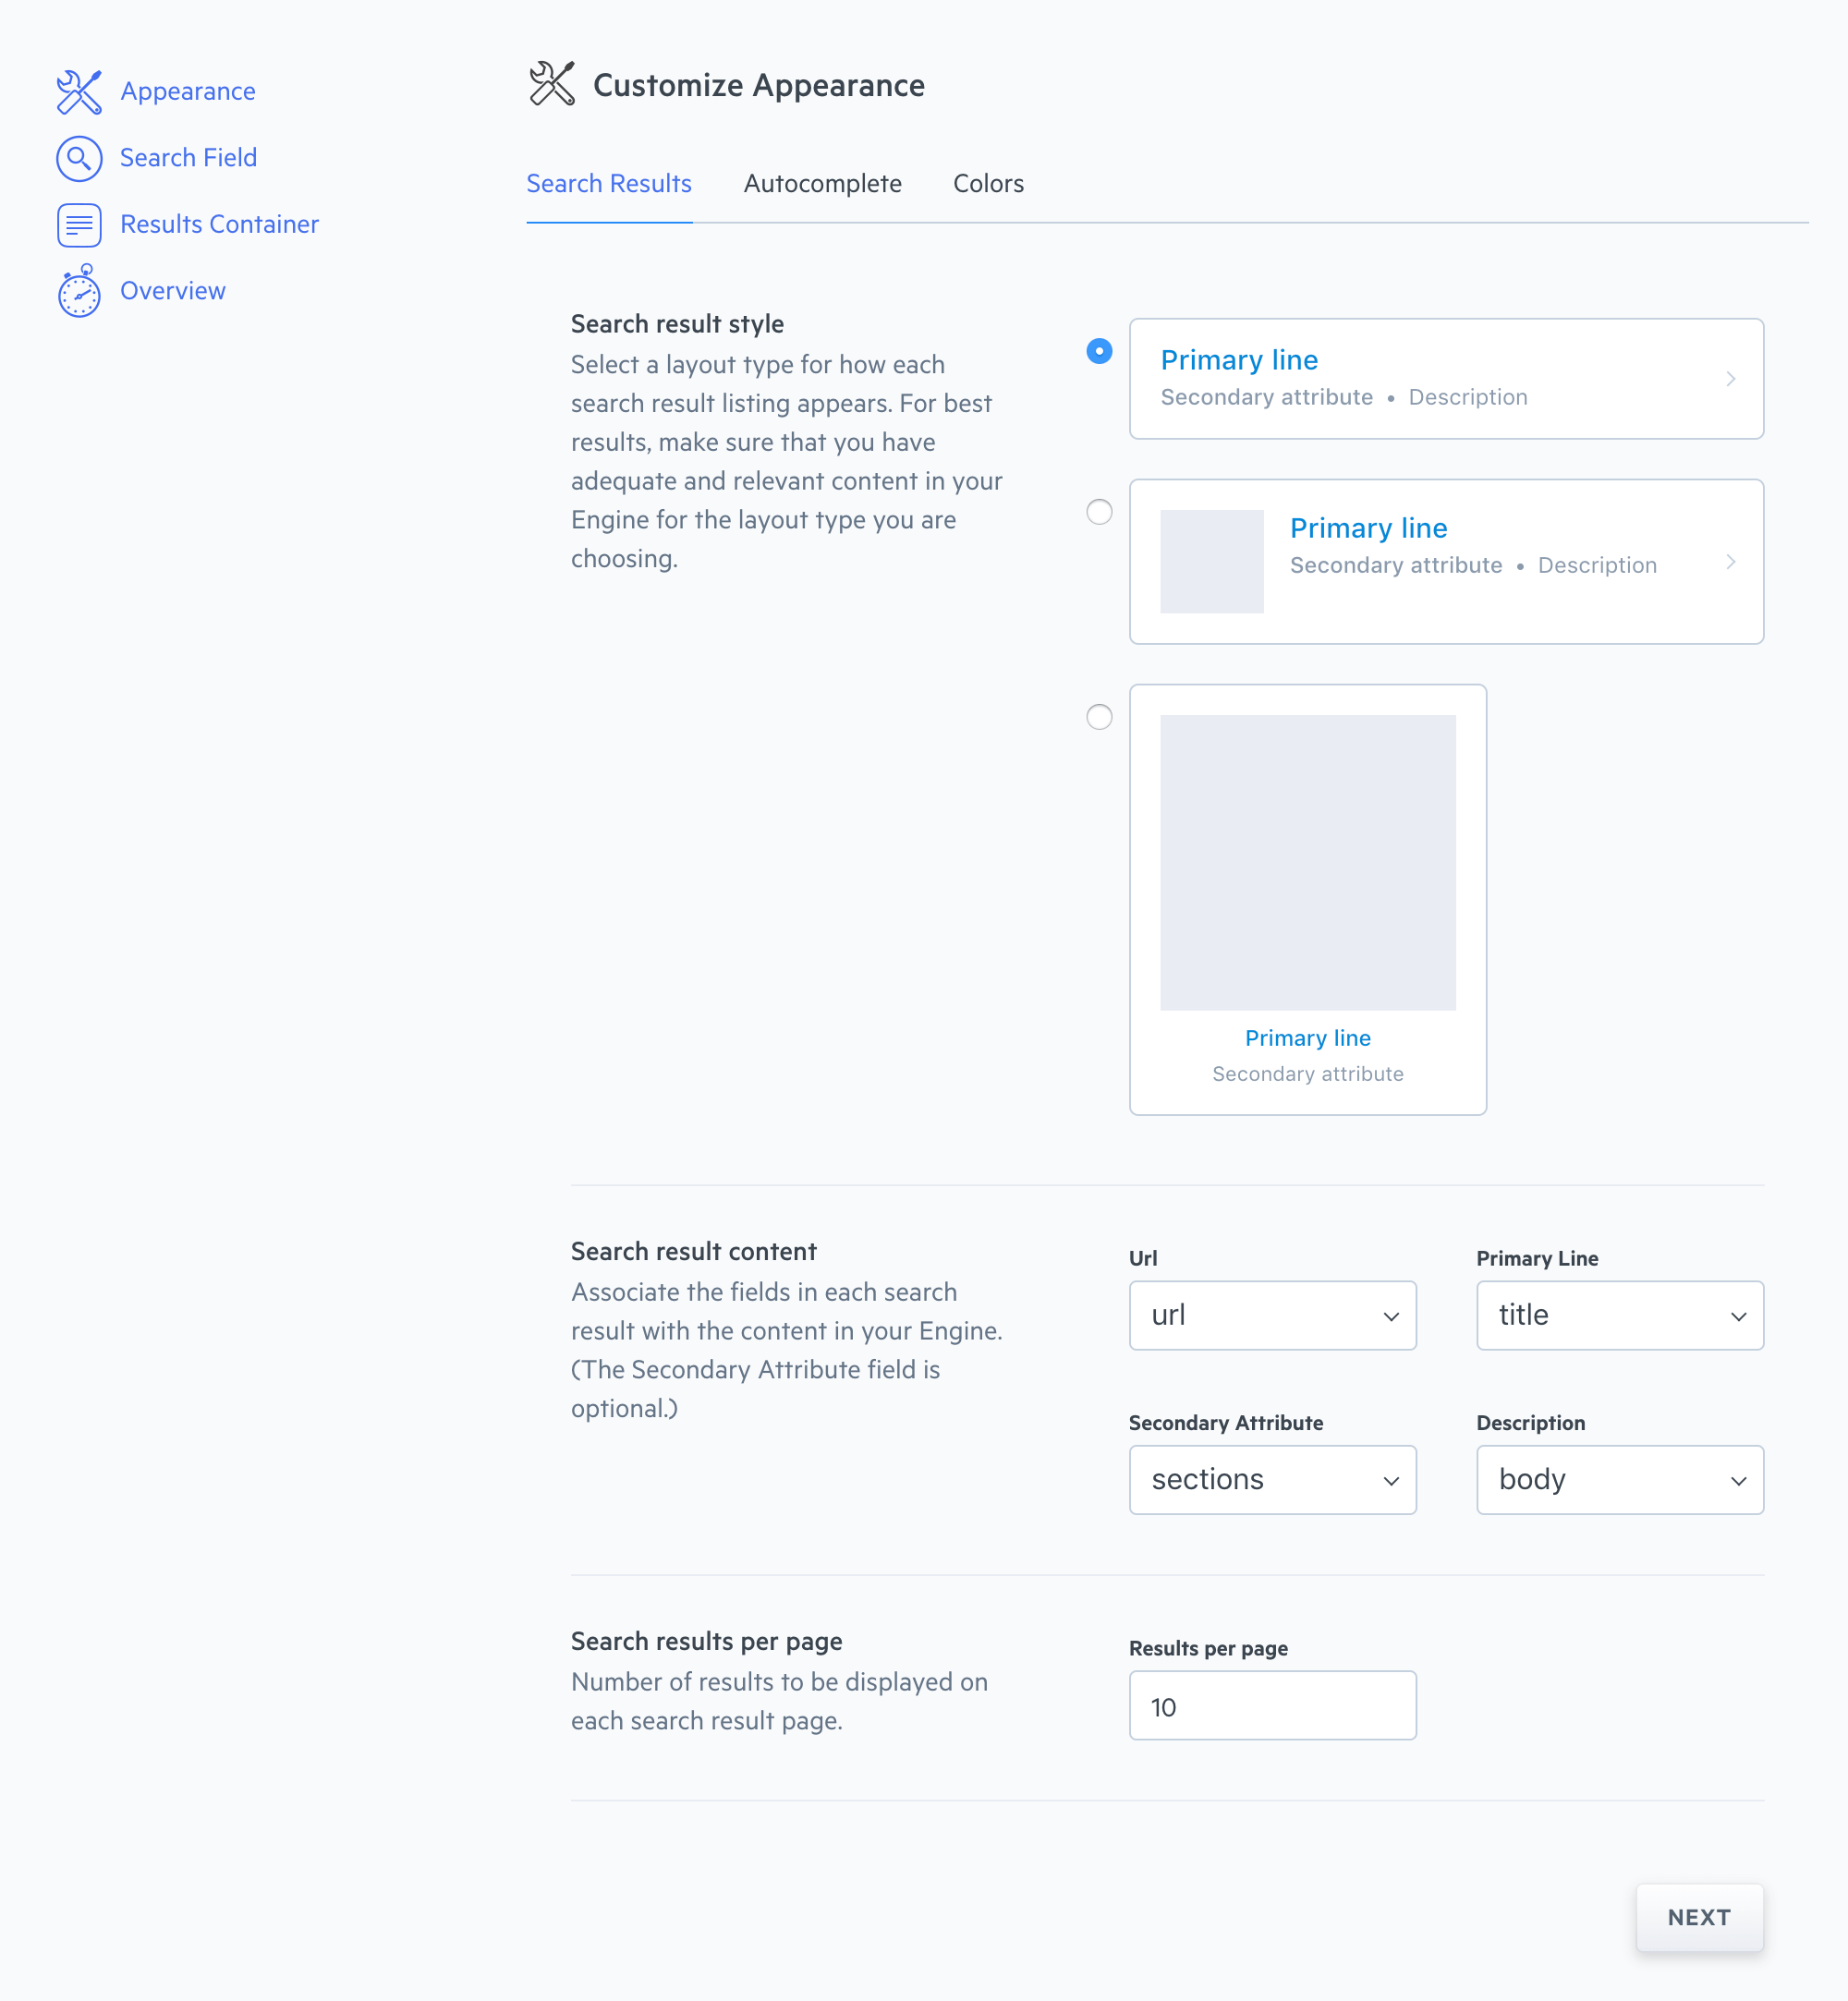
Using the result designer, you can choose one of three stylized layout options to display your fields.
First, navigate to the result designer:
- Within the Site Search navigation menu, choose Install Search.
- Within the resulting page, choose Resume Configuration.
Then, associate the default fields with the custom fields of your own choosing:

For example, if you want to use a different URL, select a different secondary attribute other than section, or use alternative description text. You can also add custom fields via meta tags, which allow for tremendous flexibility in building your result sets.
The same thinking applies to the Autocomplete customization options.
Choose your layout style, then associate its fields with the fields of your own choosing.
You can choose to disable autocomplete entirely, if you do not need it.
Finally, you can alter the color of the primary links and the highlight text within the Colors menu.
Custom Search Implementations
Custom design work makes use of the Site Search API.
Whether you're looking to build something dynamic or adhere to accessibility measures like the American Disability Act (ADA) or Section 508 IT Accessibility, you'll have the tools you need.
You can apply custom styling to both the Crawler and API Engine types; use the APIs however you can think to use them.
We have some options to help you get started...
Search UI
Search UI is an open source search experience built in React.
You can quickly build modern, dynamic, customizable search experiences.
There is a custom Site Search connector that you can apply:
import SiteSearchAPIConnector from "@elastic/search-ui-site-search-connector";

const connector = new SiteSearchAPIConnector({
  documentType: "example-doctype",
  engineKey: "xxXxXXXXxXXx"
});
Engage with the community to help you get up and running!
First Party Clients
Visit our clients for a full list of supported clients.
jQuery Search Plugin
There are a pair of open source jQuery plugins for search and autocomplete.
If jQuery is your flavour, checkout the jQuery Plugin Guide to get started.
Stuck? Looking for help? Contact support or check out the Site Search community forum!